Stop struggling with inconsistent AI images! Learn how to use Gemini Nano Banana prompts for perfect face matching and professional AI portraits today.
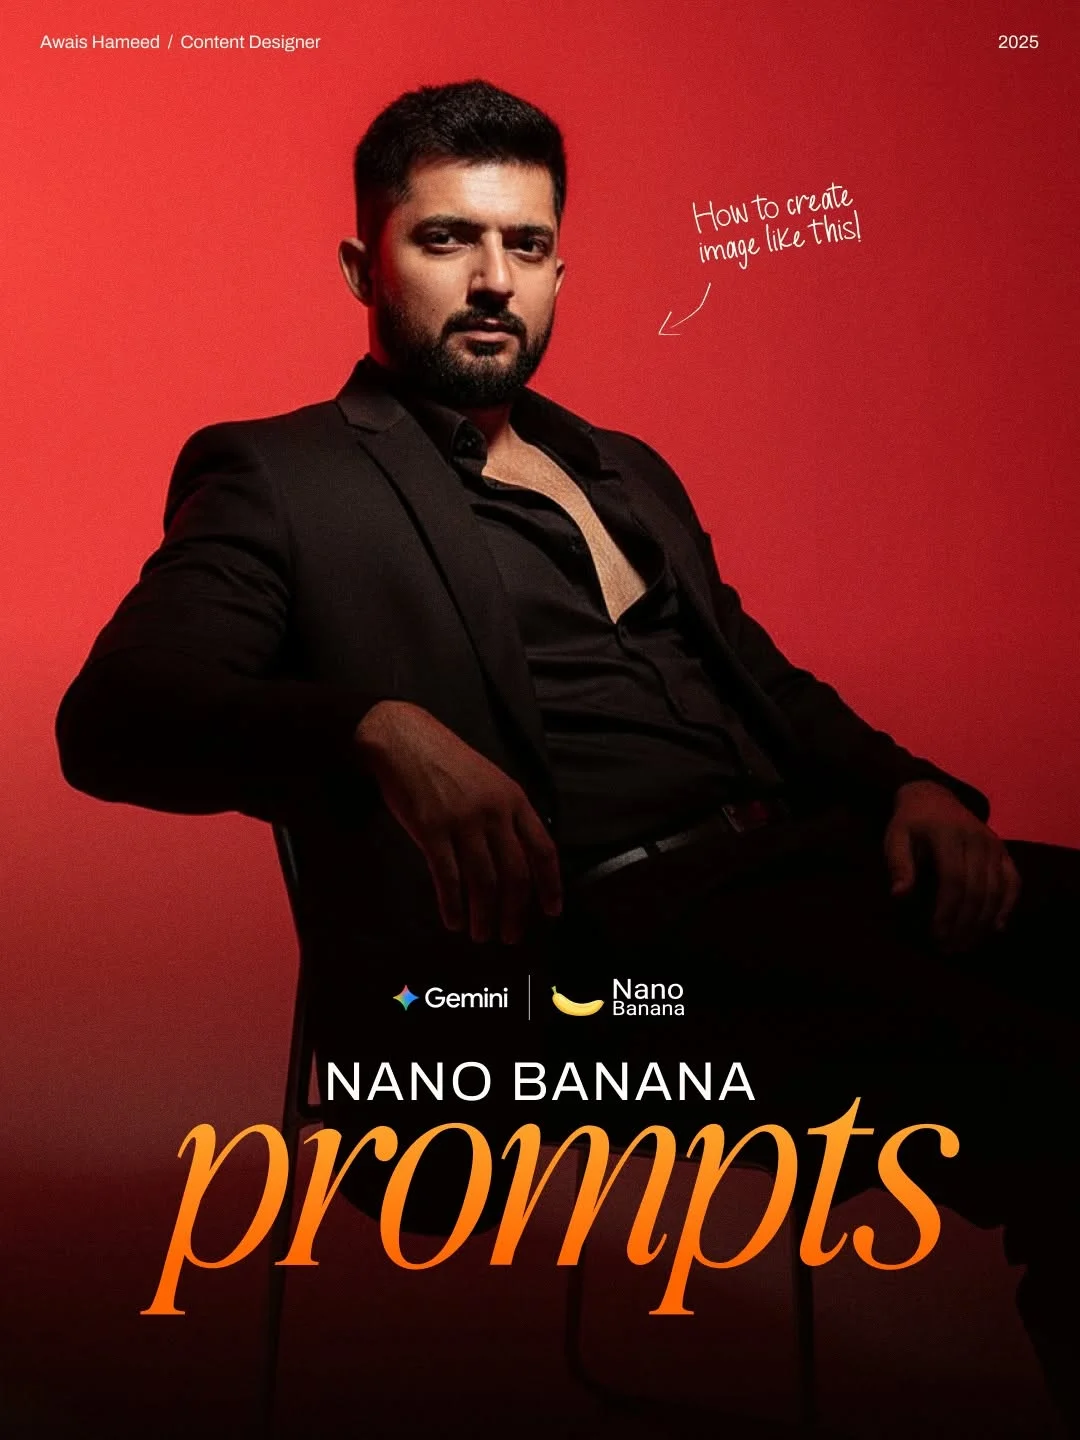
Face Doesn’t Match? Fix Image Consistency with Gemini (Nano Banana)
Have you ever generated a stunning AI image, only to realize the face looks nothing like the person you intended? It’s a common frustration for creators. Today, we are diving into a game-changing solution: Gemini (Nano Banana), the ultimate tool for achieving perfect face consistency every single time.
What is Nano Banana?
If you are active in the AI art community, you might have heard whispers about “Nano Banana.” It isn’t a fruit—it’s a specialized workflow and set of advanced prompts designed to work with Google’s Gemini and other high-end AI models. Think of Nano Banana as a “bridge” between raw AI generation and professional-grade character consistency.
It is specifically built for creators who need simple AI face replacement without spending hours learning complex coding or heavy software. Instead of generating a random person, Nano Banana focuses on “locking in” the identity of your subject. By using specific copy and paste AI prompts, you can take a reference photo of yourself (or a client) and place that exact face into any cinematic or professional setting you can imagine.
Why Face Consistency Matters for Digital Creators
In the world of social media, your face is your brand. Whether you are building an AI influencer persona or trying to create a free AI headshot generator for your LinkedIn profile, consistency is key. If your face looks different in every post, your audience loses that sense of connection and trust.
For AI influencer tools to be effective, the “character” needs to look like the same person across different outfits, lighting, and locations. Achieving this “permanent look” used to require deep knowledge of LoRA training or Stable Diffusion. Now, with the Gemini Nano Banana tutorial techniques we’re covering, you can maintain that identity with just a few clicks. It’s about making your content look intentional and professional rather than like a series of random AI glitches.
The Benefits of Using Gemini for AI Editing
Why choose Gemini for this process? Gemini AI image editing has rapidly become a favorite for AI digital creator tools because of its incredible understanding of natural language. Unlike older AI models that need “keyword salad,” Gemini understands context.
- Realism: It excels at high-quality AI portraits that don’t look “plastic.”
- Speed: Rapid AI image generation means you aren’t waiting minutes for a single result.
- Refinement: It allows for automated photo editing where the AI does the heavy lifting of blending skin tones and matching shadows.
- Accessibility: It is a perfect beginner AI photo editing platform because it behaves like a helpful assistant rather than a complicated machine.
How to Use Nano Banana for Face Matching
Ready to get started? This AI face swap tutorial will guide you through the Nano Banana method to ensure your faces match perfectly.
1. Uploading your reference images
Start by choosing 2-3 high-quality photos of the target face. These are your face swap reference images. Ensure the lighting is clear and the face is looking directly at the camera or at a slight angle. The more detail the AI has, the better the match.
2. Writing the “Nano Banana” prompt
This is where the magic happens. You don’t just say “put my face here.” You use a structured prompt that describes the atmosphere, the clothing, and the technical camera settings. By wrapping your identity instructions within a Nano Banana-style prompt, you “force” the AI to prioritize the reference image features.
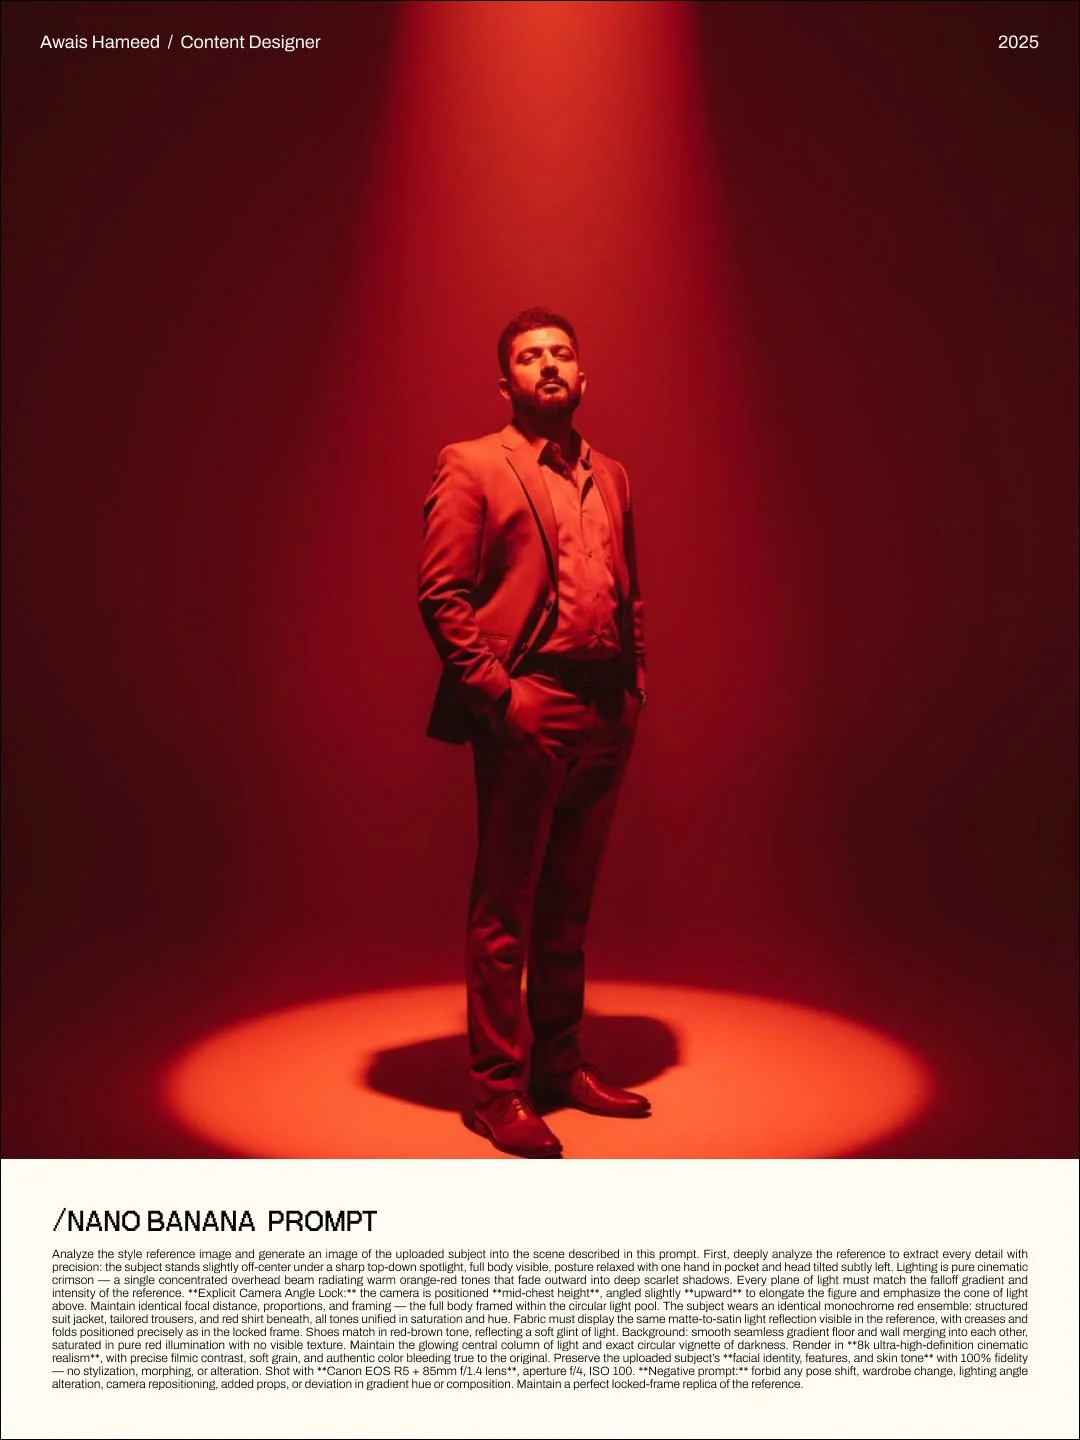
3. Adjusting settings for realism
Pay attention to the “Camera Angle Lock” and lighting descriptions in the prompts. These settings ensure that the face doesn’t just look like a sticker slapped onto a body—it ensures the shadows on the nose and jawline match the environment.
4. Generating and refining the final output
Hit generate! If the face is slightly off, don’t worry. You can refine the output by asking the AI to “Increase facial fidelity to reference image” or “Adjust skin texture to be more natural.”
Top 5 Copy-Paste Prompts for Perfect Results
To help you skip the trial and error, here are 5 easy face swap prompts you can use right now.
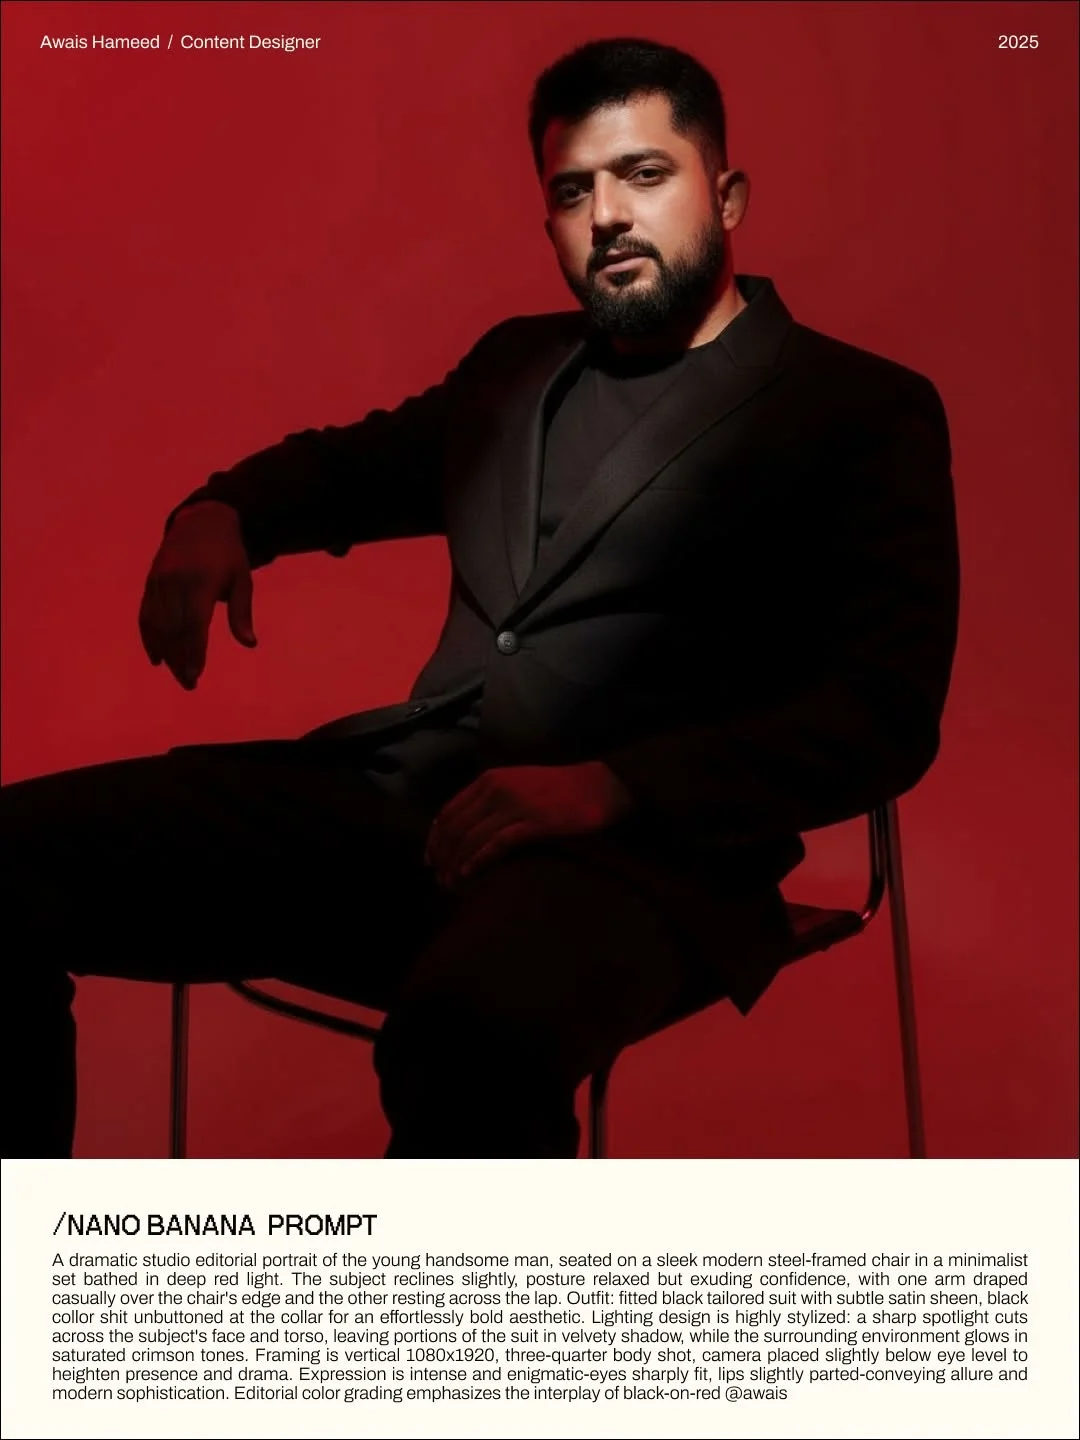
1. The “Cinematic Portrait” prompt
Use this for a high-end, movie-poster look. It focuses on dramatic lighting and deep shadows. (See Image 2 Prompt above)
2. The “Street Style Photography” prompt
Perfect for viral AI photo trends. This prompt places your subject in a bustling city with a shallow depth of field (blurry background), making the face pop.
3. The “Professional Headshot” prompt
Need a new profile picture? This prompt mimics a 85mm lens in a studio setting, providing a clean, trustworthy, and realistic face swap online experience.
4. The “Fantasy/Avatar” prompt
Ever wanted to see yourself as a warrior or a sci-fi captain? This prompt maintains your face while adding intricate armor or ethereal glows.
5. The “Vintage Film” prompt
This creates a 90s aesthetic with slight grain and warm tones. It’s extremely popular for social media content creation tools.

Common Mistakes to Avoid When Face Swapping
Even the best how to change faces in photos guide can’t save you from these three common pitfalls:
- Using low-quality reference photos: If your photo is blurry or pixelated, the AI will generate a blurry face. Always use clear, high-resolution selfies.
- Over-complicating the text prompt: If you give the AI 500 instructions, it might get confused and ignore the face reference. Keep your environment descriptions clear but concise.
- Ignoring lighting and angle consistency: If your reference photo has light coming from the left, but your prompt asks for light from the right, the AI might “warp” the face to make it fit, leading to an uncanny valley effect.
Tips to Boost Your Social Media Engagement
Creating the images is only half the battle. To truly succeed as a digital creator, you need to know how to share them.
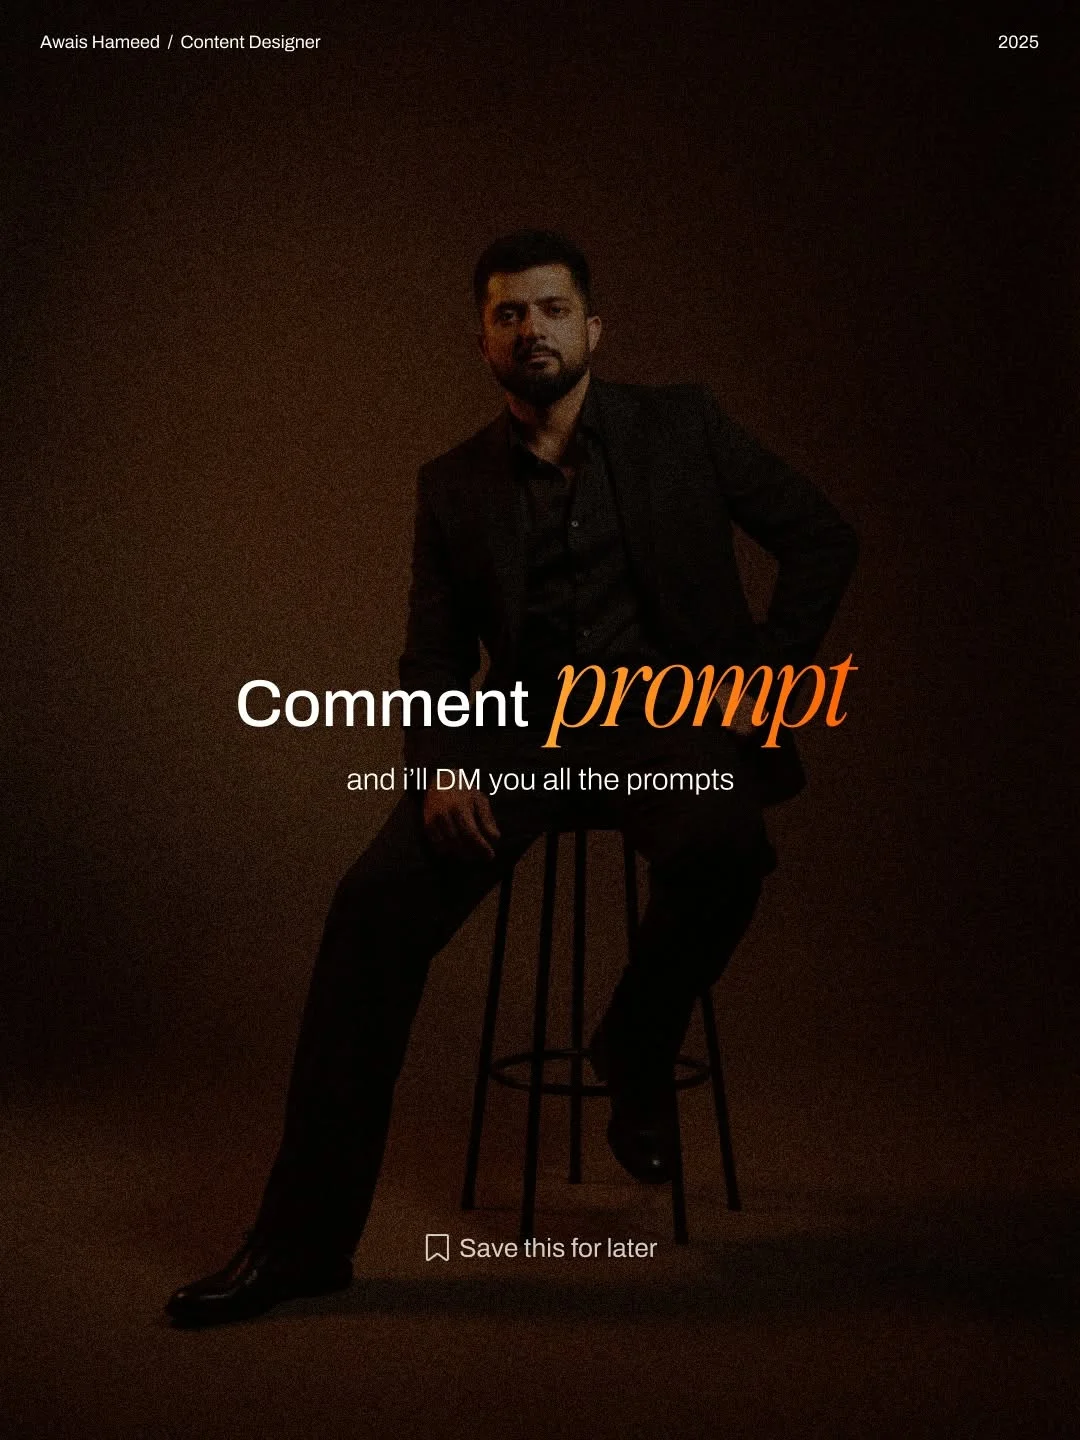
- Using “Call to Action” strategies: Notice how top creators like @awaisthedesigner use the “Comment PROMPT” method? This boosts your engagement significantly, telling the algorithm that your post is valuable.
- Choosing trending visual styles: Keep an eye on “moody red lighting” or “Korean high-fashion aesthetics” (as seen in https://pub-141831e61e69445289222976a15b6fb3.r2.dev/insta_post/DSEhJU0DPU0/image_7.webp). These styles are currently dominating platforms like Instagram and Pinterest.
- Following top AI designers: Stay updated by following experts who share Nano Banana AI prompts and new techniques. This keeps your skills sharp and your content fresh.
Frequently Asked Questions
1. Is Nano Banana free to use?
The techniques and prompts can be used on many free-tier AI platforms, though premium models like Gemini Advanced often yield the most realistic “Nano Banana” results.
2. How many reference images do I need for a perfect match?
Usually, 1 to 3 images are enough. Make sure they show different angles of the face for the best high-quality AI portraits.
3. Does this work on both mobile and desktop?
Yes! Since Gemini is web-based and has a mobile app, you can perform these edits anywhere.
4. Is Gemini’s Nano Banana safe for privacy?
Always review the terms of service of the AI tool you are using. Generally, your uploaded photos are used for the generation session, but it is wise to avoid uploading sensitive personal documents.
5. Can I use these AI images for commercial projects?
This depends on the platform’s license (e.g., Google Gemini’s terms). Most creators use them for social media and personal branding without issues.
6. Why does the face sometimes look distorted?
This usually happens due to a mismatch between the prompt and the reference photo angle. Try to match the “camera height” in your prompt to the height your original photo was taken at.
7. What is the best prompt format for beginners?
Start with a “Style Reference” instruction followed by a detailed description of the lighting and outfit, just like the prompts provided in this article!
By following this guide and using the provided Nano Banana AI prompts, you’ll never have to worry about “face mismatch” again. You now have the tools to create professional, consistent, and stunning AI-driven content. Happy creating!